How to Set Up An Inflatable Projector Screen in 2026
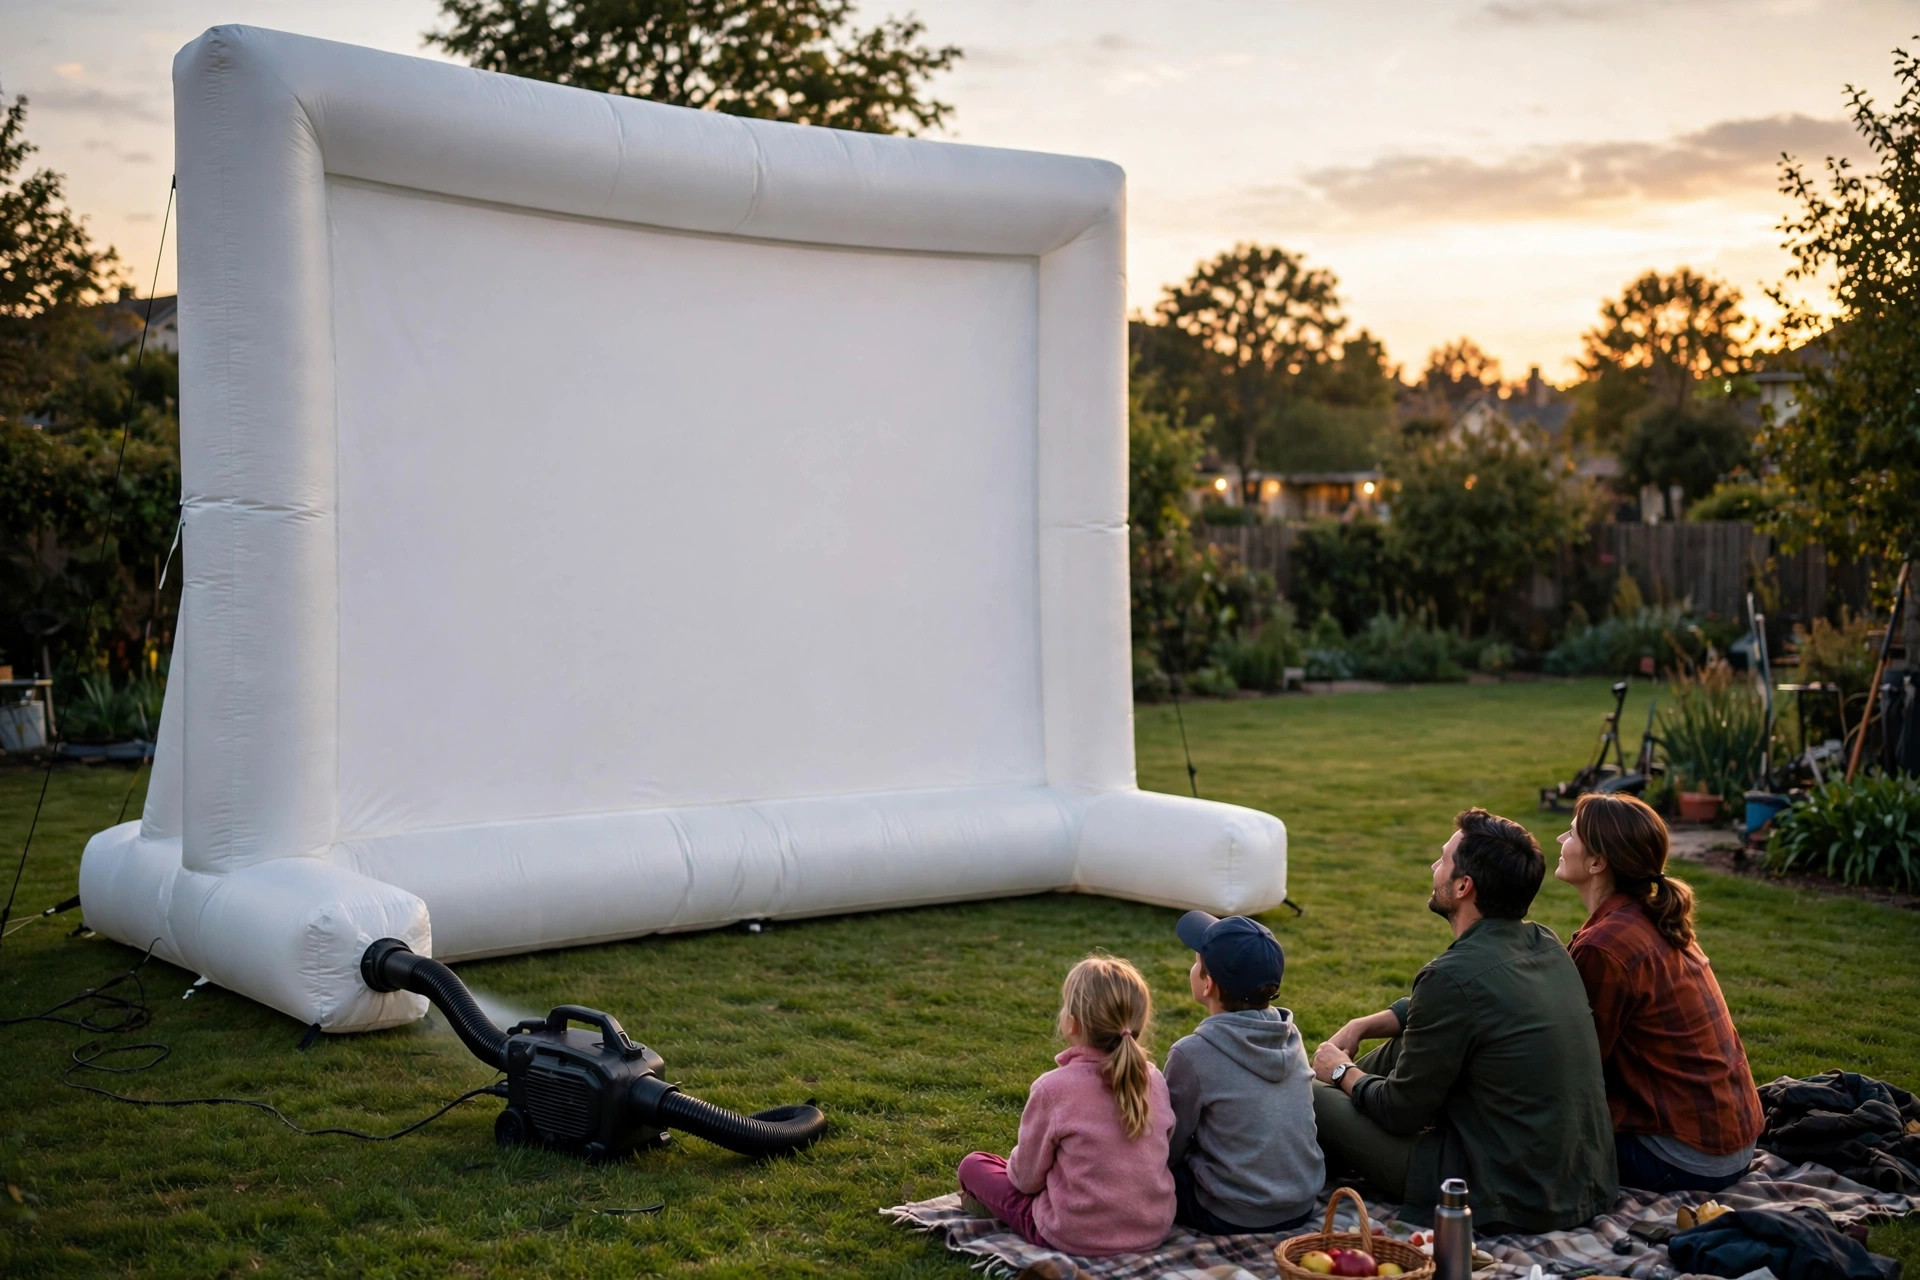
You can go from bag to movie-ready in about 10 minutes. Lay the screen on flat ground, close the deflation zipper, hook up the blower, inflate (60 to 120 seconds), attach the screen fabric, and stake it down.
The inflation is the fun two-minute part — the step that actually matters is anchoring, because a 14-foot screen catches wind like a sail.
Here’s the full process, the mistakes everyone makes the first time, and how to handle wind, wrinkles, and takedown like you’ve done it a hundred times.
How to Set Up Inflatable Projector Screen? – Step by Step
Step 1 — Choose your spot. Flat ground, clear of sharp objects: pinecones, sprinkler heads, patio furniture feet, and any decorative gravel that could puncture the base. Think about wind direction (you want the screen’s back to the prevailing breeze, not its face) and leave room behind the screen if you ever want to try rear projection.
Also confirm the screen size fits your seating distance — our backyard screen-size guide has the simple seating-distance formula.
Step 2 — Unpack and lay it flat. Unroll the frame fabric and spread it out fully. Now, the single most common rookie mistake: close the deflation zipper or valve on the back/bottom before you do anything else. If it’s open, the blower will run forever, and the screen will never rise.
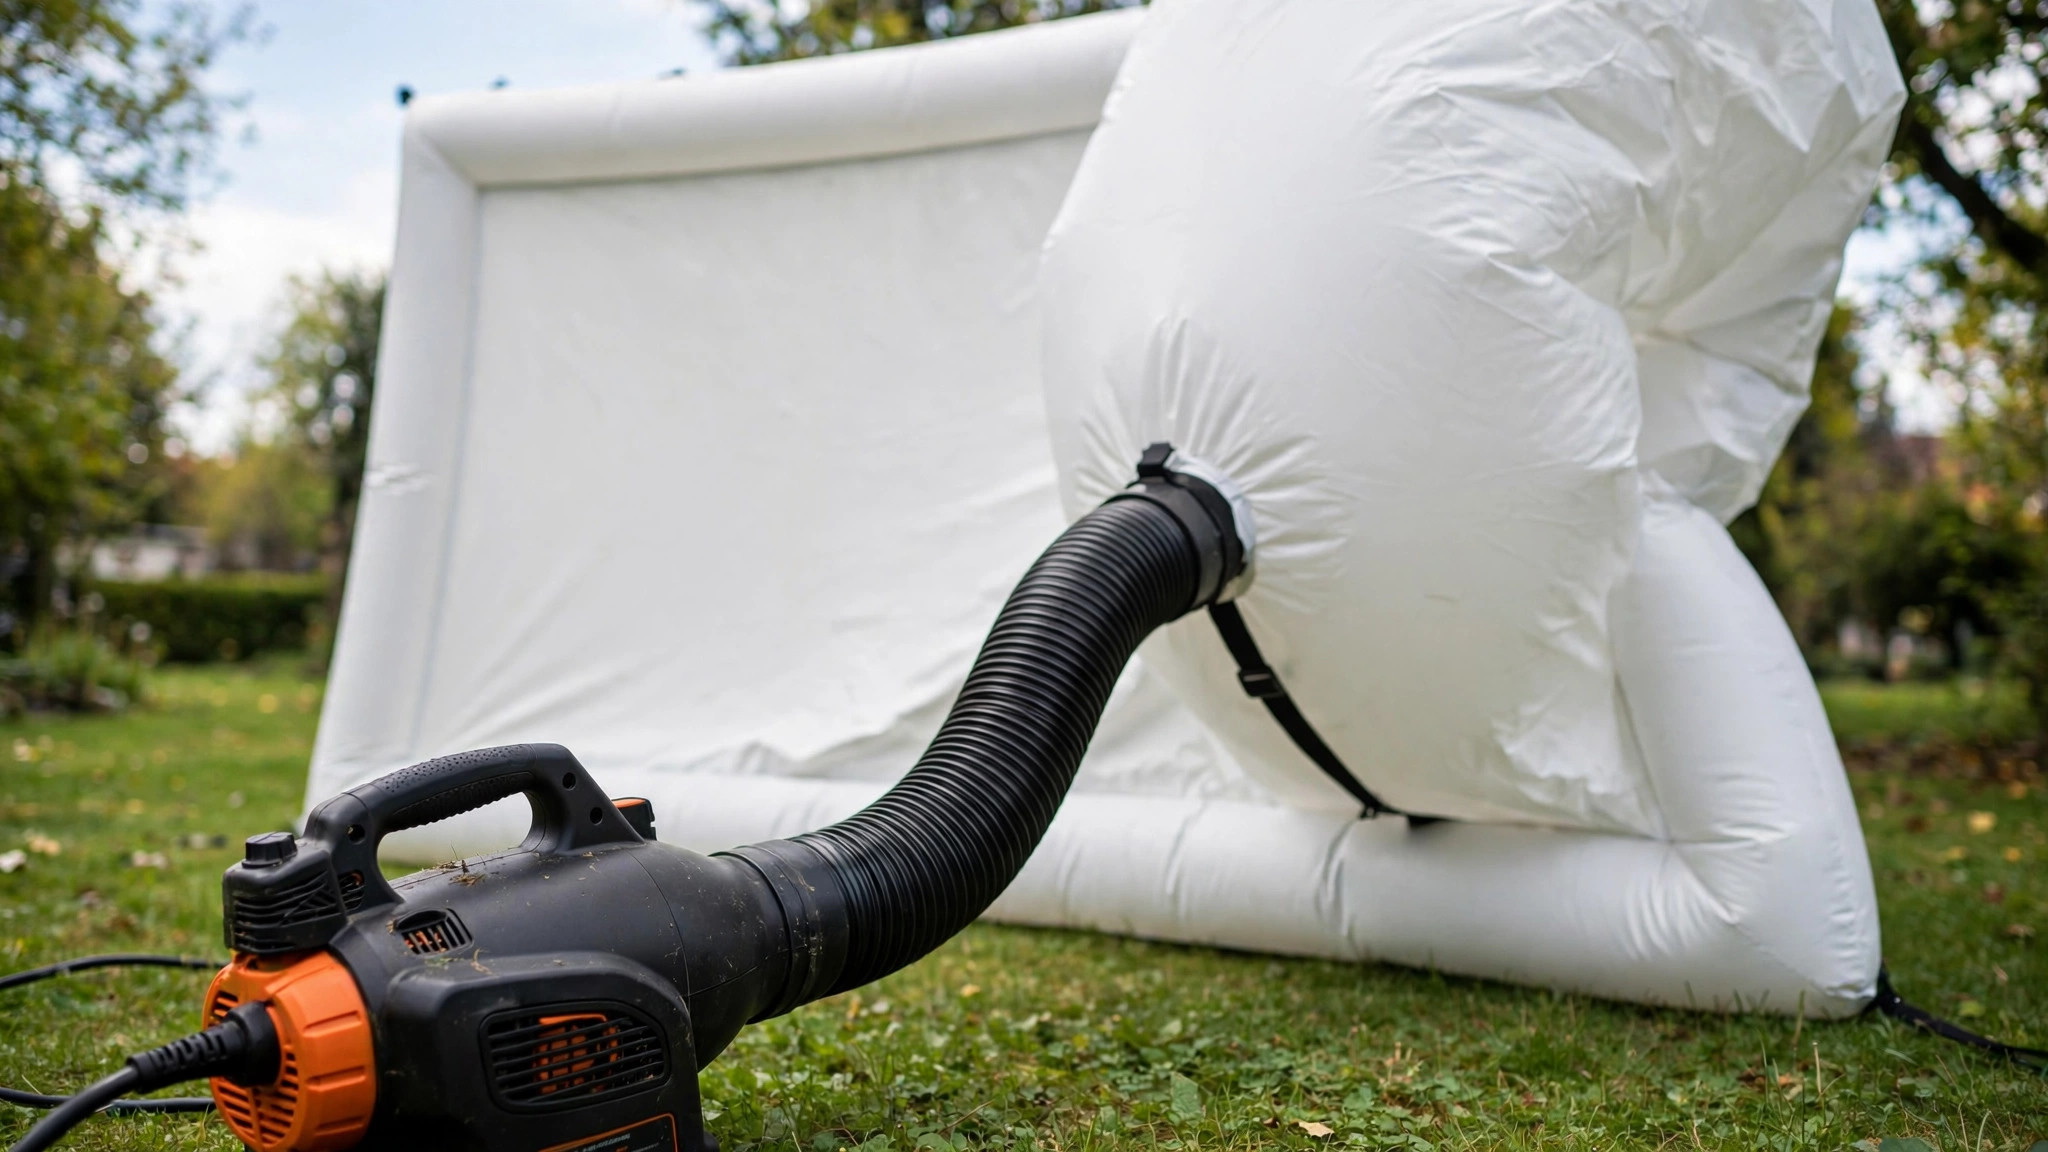
Step 3 — Connect the blower. Attach the blower’s air tube snugly to the screen’s inflation port — it should be a firm friction fit, not dangling. Plug the blower into an outdoor-rated extension cord on a GFCI-protected outlet, and set the blower itself on dry ground, never in a puddle or on wet grass.
Step 4 — Inflate. Switch the blower on and watch it rise — most screens go from flat to fully rigid in 60 to 120 seconds. As it inflates, gently guide the frame upright by the edges; don’t yank it. Don’t walk away during inflation — if a seam is misaligned or the tube is kinked, you want to catch it now.
Step 5 — Attach the screen fabric. Once the frame is rigid, hook or Velcro the white projection fabric onto the frame, working from the center outward so tension stays even. Smooth it flat as you go. If the fabric has fold creases from packaging, don’t panic — there’s a whole section on wrinkles below.
Step 6 — Anchor everything. This is the step people rush, and it’s the one that prevents disasters. Stake every tie-down rope at roughly a 45-degree angle away from the screen — that angle gives maximum holding power against wind. Drive stakes fully into the ground and snug every guy line.
On patios or decks where stakes won’t go in, use sandbags on the base D-rings instead. Never skip anchoring “because it’s calm right now.”
Step 7 — Place the projector and speakers. Set the projector on a stable table at the right throw distance for your screen size, centered and level — keystone correction fixes minor angles but costs you sharpness.
Keep the projector (and its power connections) dry and out of the beam path so nobody casts shadows walking to the popcorn. Projector makers publish outdoor safety limits in their manuals — Epson’s documentation, for example, is explicit that rain and moisture exposure risks fire and electric shock.
If you’re still choosing a projector, our best outdoor projectors guide covers brightness and throw for backyard setups.
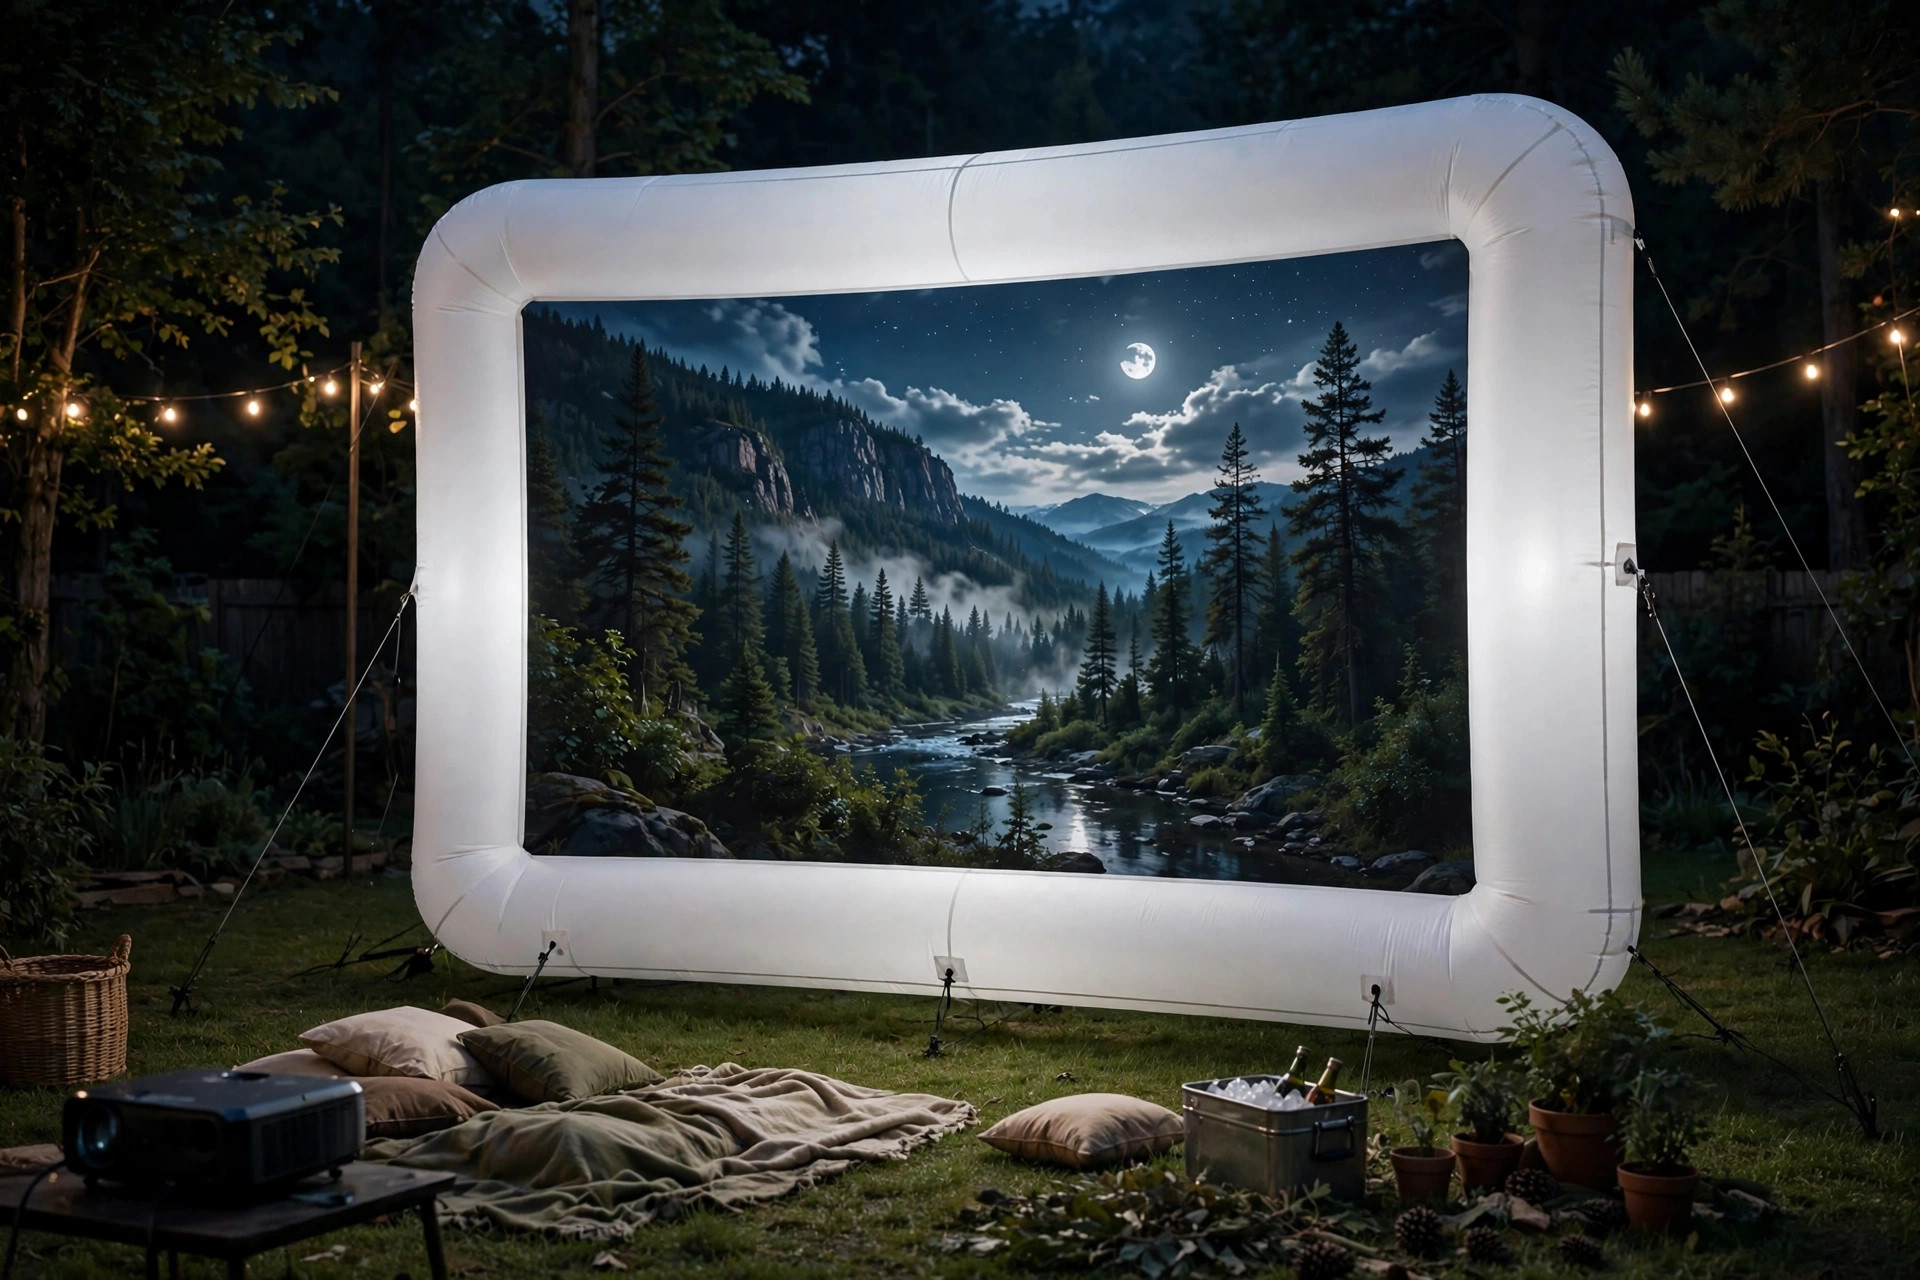
Step 8 — Focus and play. Project a test image, focus, center it on the fabric, then dim the yard lights and start the movie after dark for the best contrast.
Anchoring: The Step Everyone Rushes
An inflatable screen is basically a sail with a movie on it. In a light breeze, proper anchoring makes it rock-solid; in a gusty evening, no anchoring is enough — which is why you need both technique and judgment.
Technique first: use all the included tie-down points, not just the convenient ones. Stakes go in at about 45 degrees, leaning away from the screen, driven fully flush. Guy lines should be snug but not guitar-string tight — over-tensioning warps the frame and pulls wrinkles into the fabric.
On hard surfaces, sandbags (or bags of play sand from the hardware store) on each base D-ring work well; tying off to heavy patio furniture is a backup, not a plan.
Judgment: a steady light breeze is fine. Sustained wind or gusts around 15–20 mph mean it’s time to deflate — a screen that breaks loose becomes a large, fast-moving object with stakes attached. And never leave an inflated screen up overnight or unattended; weather changes while you’re asleep.
Wrinkles: Getting a Flat, Clean Image
Fresh-out-of-the-bag screens almost always have fold creases. The good news: most disappear on their own. Set the screen up 30 to 60 minutes before showtime and let warm late-afternoon sun plus the rope tension pull the fabric flat — this alone fixes the majority of wrinkles.
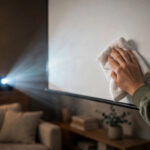
When attaching the fabric, work from the center outward and keep tension even on all sides; uneven Velcro is the main cause of wrinkles that won’t quit. For stubborn deep fold lines, a handheld garment steamer on its lowest setting, held at least 6 inches from the back of the fabric, relaxes them safely.
One absolute rule: never iron the screen. Direct iron heat melts the synthetic polyester instantly and destroys the reflective coating — the screen is ruined in one pass.
Front vs. Rear Projection
Most inflatable screens support both, and the choice changes your layout.
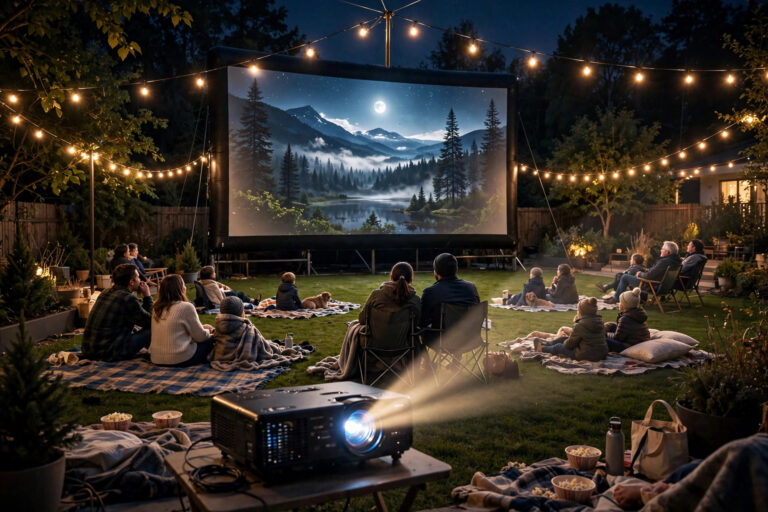
Front projection is the default: the projector sits with the audience, throwing onto the front of the screen. Simplest setup, but the beam crosses the seating area — place the projector high or to the side so nobody walks through it and casts a shadow mid-movie.
Rear projection puts the projector behind the screen, throwing through the fabric. No shadows, no beam in anyone’s eyes, and the gear stays out of the party zone.
The trade-offs: you need several feet of clear space behind the screen, the area behind should be dark (stray light washes through), and rear projection typically wants a slightly brighter projector. Check your screen’s listing — nearly all inflatables advertise front/rear compatibility, but the fabric’s rear gain varies.
Blower Noise, Power, and Rain
The blower runs continuously — the screen only stays up while air flows. Expect around 55 decibels measured from 10 feet away, roughly a box fan on medium.
You’ll hear it during quiet dialogue scenes, so plan around it: put dedicated speakers near the seating area (never rely on the projector’s built-in speaker outdoors) and keep the blower as far behind the screen as its tube allows.
Power-wise, the blower is a modest draw, but treat it like any outdoor electrical gear: outdoor-rated extension cord, GFCI outlet, connections off the ground and dry. And the rain rule is simple — the screen fabric tolerates light dampness, but the blower must stay dry.
If real rain is coming, deflate and pack up; a wet blower is a dead blower. Whatever gets damp, dry it fully before packing or mildew will claim it — our outdoor projector screen guide covers weather-tough screen options if rain is a regular feature of your summers.
Takedown in 5 Minutes
When the credits roll: power off the blower first, then open the deflation zipper and guide the frame down as it softens — don’t just let it flop onto the fabric. Detach the screen fabric, fold everything loosely along its original seams (tight vacuum-style packing sets permanent creases), and get it into the storage bag.
If anything got dewy or damp, air-dry it fully before it goes in the bag — packed-away moisture becomes mildew by next weekend.
Frequently Asked Questions
How long does it take to set up an inflatable projector screen?
About 10 minutes total for most people. The inflation itself is only 60 to 120 seconds — the rest is unpacking, attaching the screen fabric, and staking it down, which is the part you shouldn’t rush. Takedown is even faster, around 5 minutes.
Can I use an inflatable screen in the wind?
In a light breeze, yes — provided you use every tie-down point, stake ropes at 45 degrees, and snug all the guy lines. In gusty conditions around 15–20 mph or higher, deflate it; a big screen catches wind like a sail and can break loose dangerously. Never leave it inflated overnight or unattended.
How loud is the blower? Will it ruin the movie?
Around 55 decibels from 10 feet — like a box fan on medium — and it runs the entire movie since the screen needs continuous airflow. You’ll notice it in quiet scenes. The fix is placement: put the blower as far behind the screen as possible and use external speakers near your seating so dialogue stays clear.
What happens if the blower stops during the movie?
The screen deflates slowly rather than collapsing instantly, so don’t panic — but act fast. Secure the guy ropes immediately so the softening frame can’t tip onto people or gear, then check the obvious culprits: tripped GFCI outlet, loose extension cord connection, or the blower overheating. Once power is restored, it re-inflates in about a minute.
What size inflatable screen do I need?
Match it to your seating distance: 100–120 inches diagonal suits most backyards, 135–150 inches for big lawns and block parties. Run the numbers with our backyard screen-size guide before you buy — and remember your projector’s throw distance caps how big an image it can actually fill.
The Bottom Line
Ten minutes, eight steps, and one secret: the boring part is the important part. Close the deflation zipper, stake every rope at 45 degrees, and respect the wind — do that, and the movie night basically runs itself.