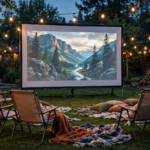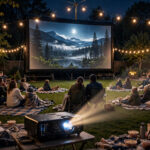
How to Hang Projector Screen Outside Without Wall in 2026
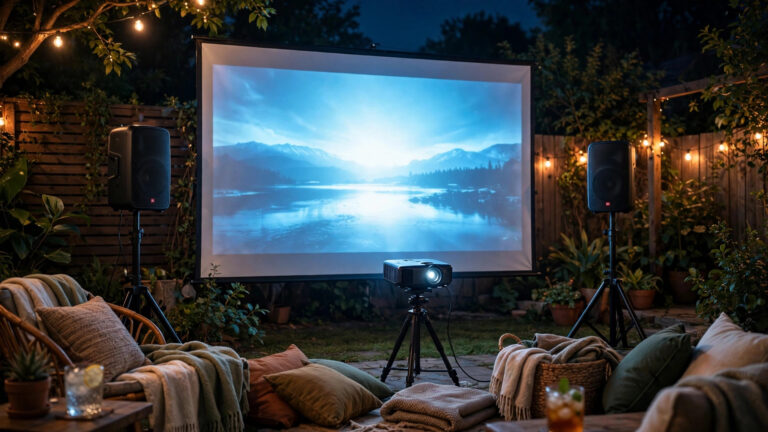
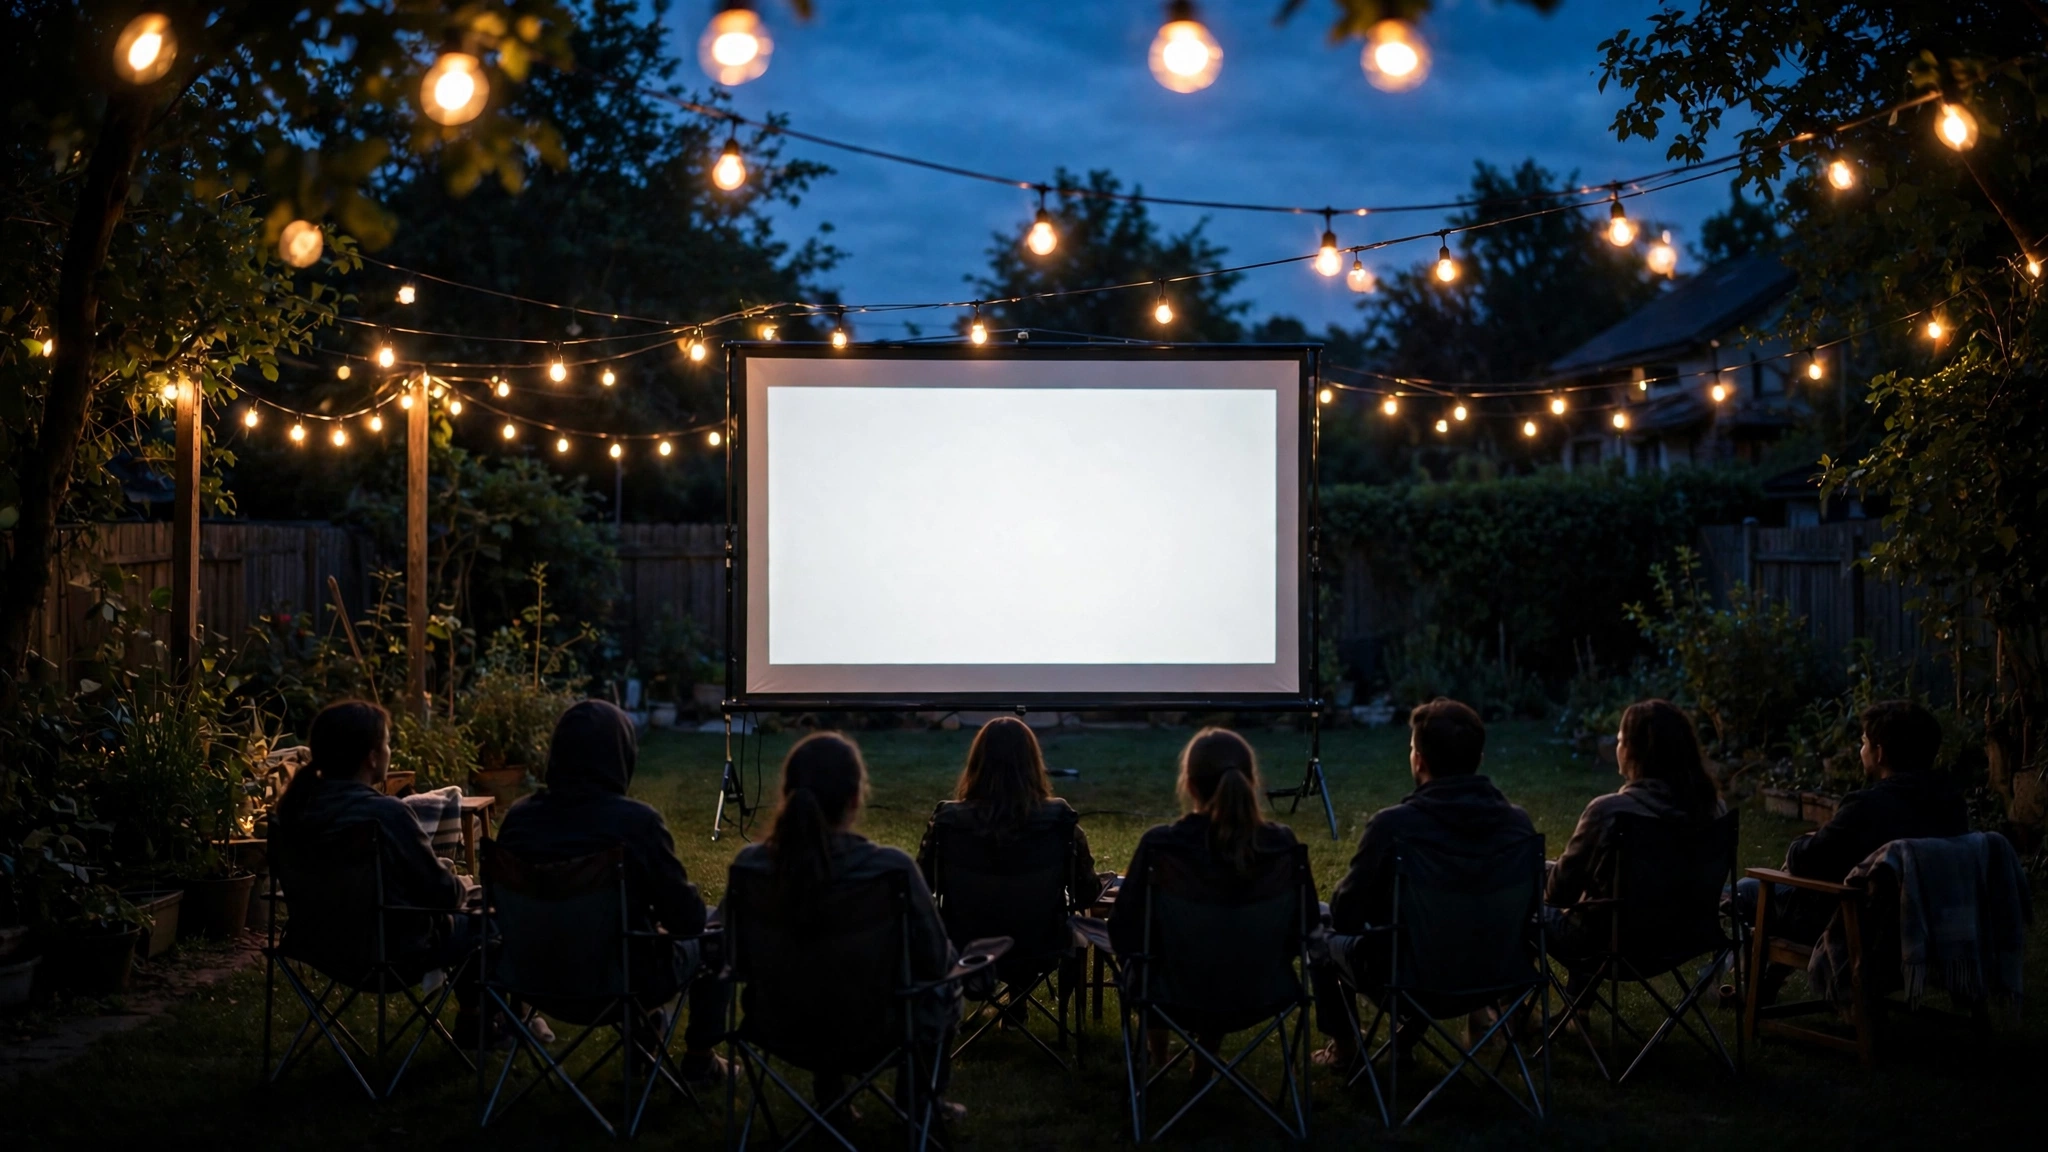
You don’t need a wall to run a great backyard movie night. If you’re figuring out how to hang projector screen outside without wall? you’re asking the right question — most backyards and patios don’t come with a big blank wall facing the seating.
The good news: a wall was never the important part. What matters is a flat, stable, wrinkle-free surface that stays put for the whole movie, and there are five proven ways to get one without drilling a single hole.
How to Hang Projector Screen Outside Without Wall – 5 Proven Methods
Every method below holds a viewing surface upright, flat, and steady in open air. Which fits you depends on budget, how often you’ll host movie nights, and how windy your yard gets. Here’s the honest breakdown of each.
Method 1: Tripod or Pull-Up Screen (Easiest)
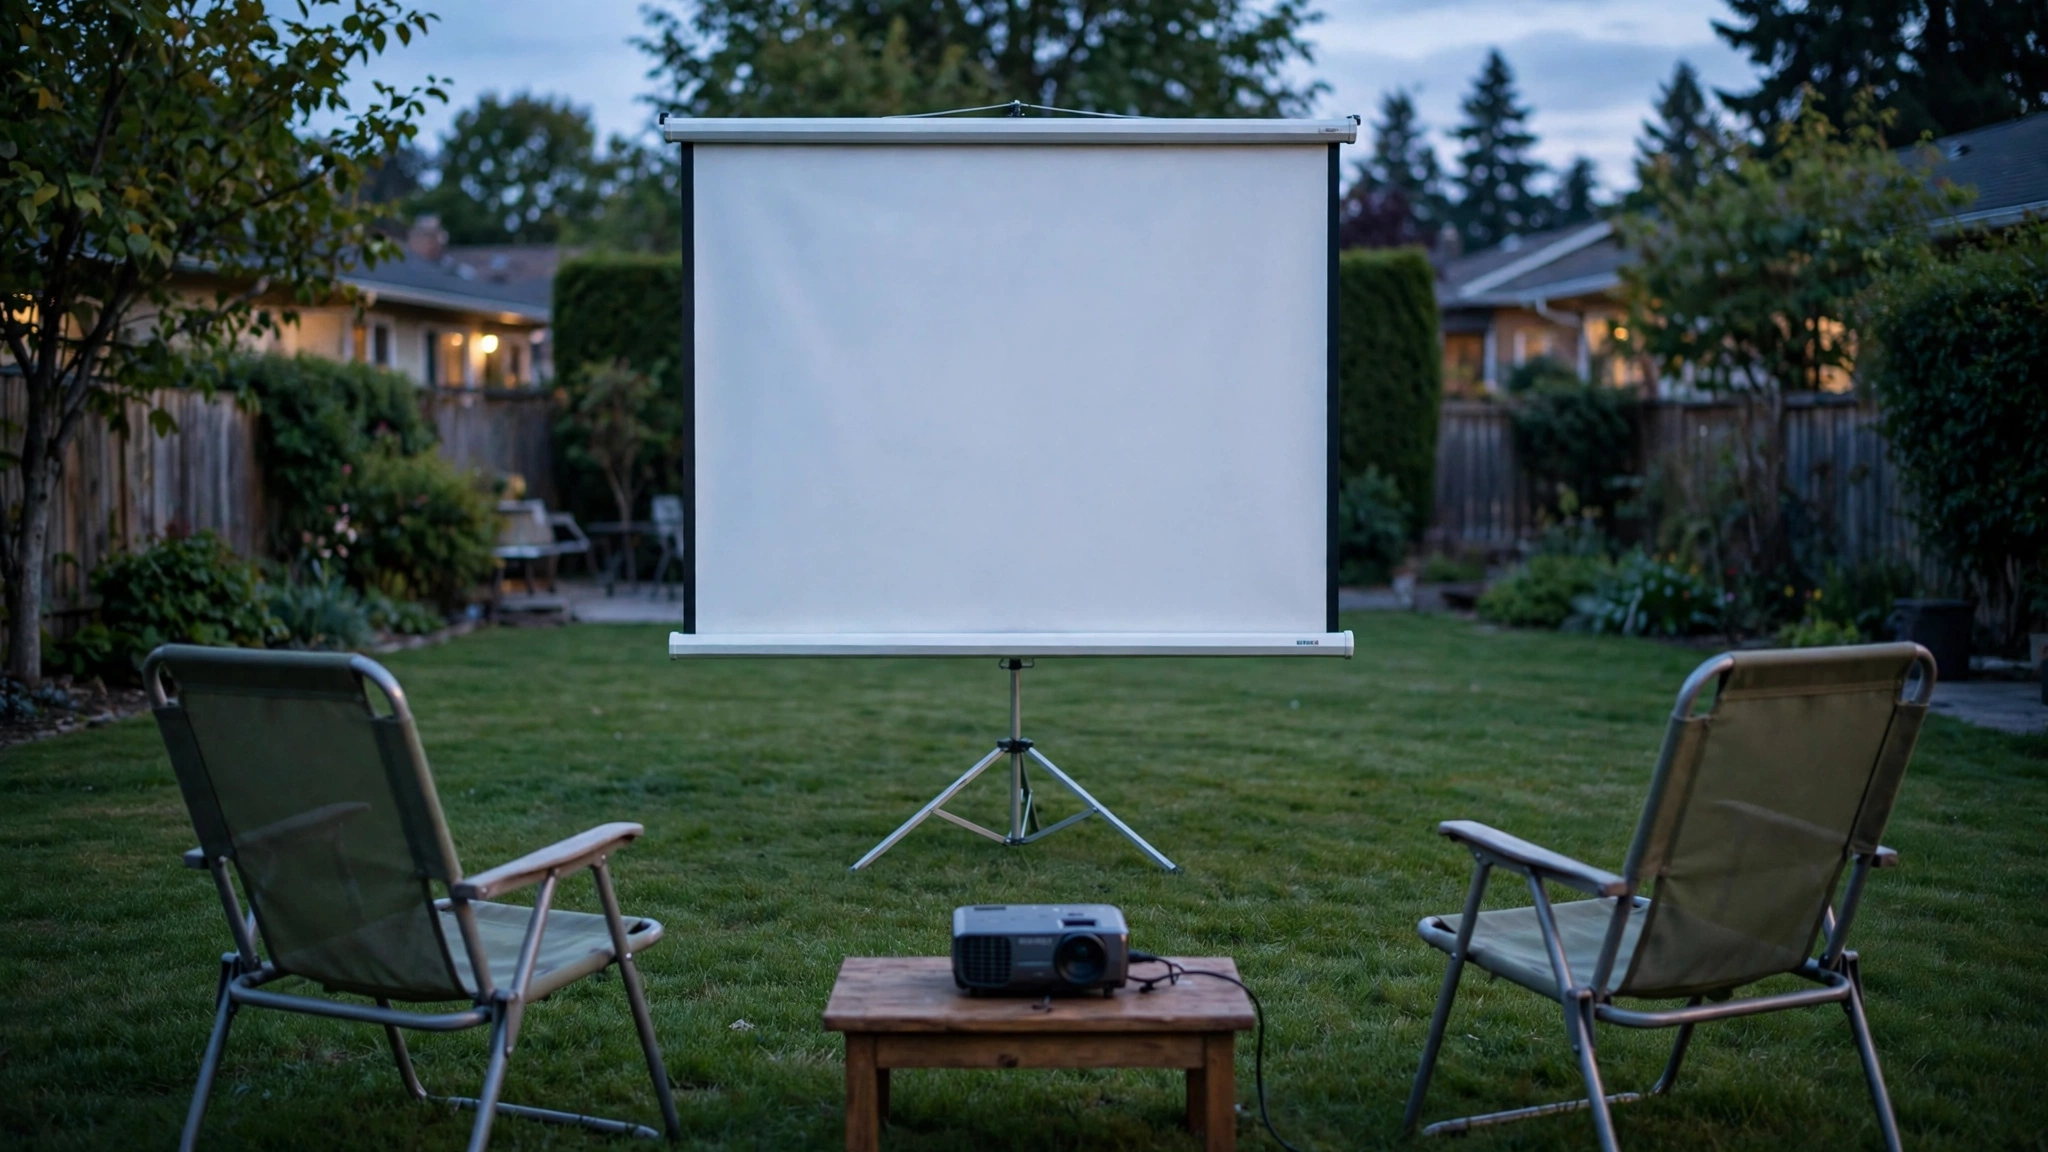
A tripod or pull-up screen is the closest thing to a zero-effort answer. The screen lives rolled inside a slim base case; you set the case on the ground, pull the screen up, and hook it to the support pole. Most go from bag to movie-ready in under two minutes and pack back into a car-friendly carrying case.
For casual movie nights, this is my default recommendation: no building, no measuring, and sixty-second teardown if the wind picks up.
Pros: fastest setup; fully portable; no tools or damage to anything; the matte-white surface has even screen gain, so the picture beats a bedsheet easily.
Cons: smaller maximum sizes than DIY options; tripod legs can wobble in gusts; cheap retract mechanisms wear out after a season or two outdoors.
Wind tips: hang a sandbag over each tripod foot and face the screen’s back into the prevailing wind. If it sways mid-movie, lower the screen a few inches — a shorter sail catches less wind. And since teardown takes a minute, don’t fight bad weather; just collapse it.
If you’re still choosing a screen, our guide to the best outdoor projector screens covers the formats worth buying and the ones to skip.
Method 2: DIY PVC Pipe Frame (Best Budget Big Screen)
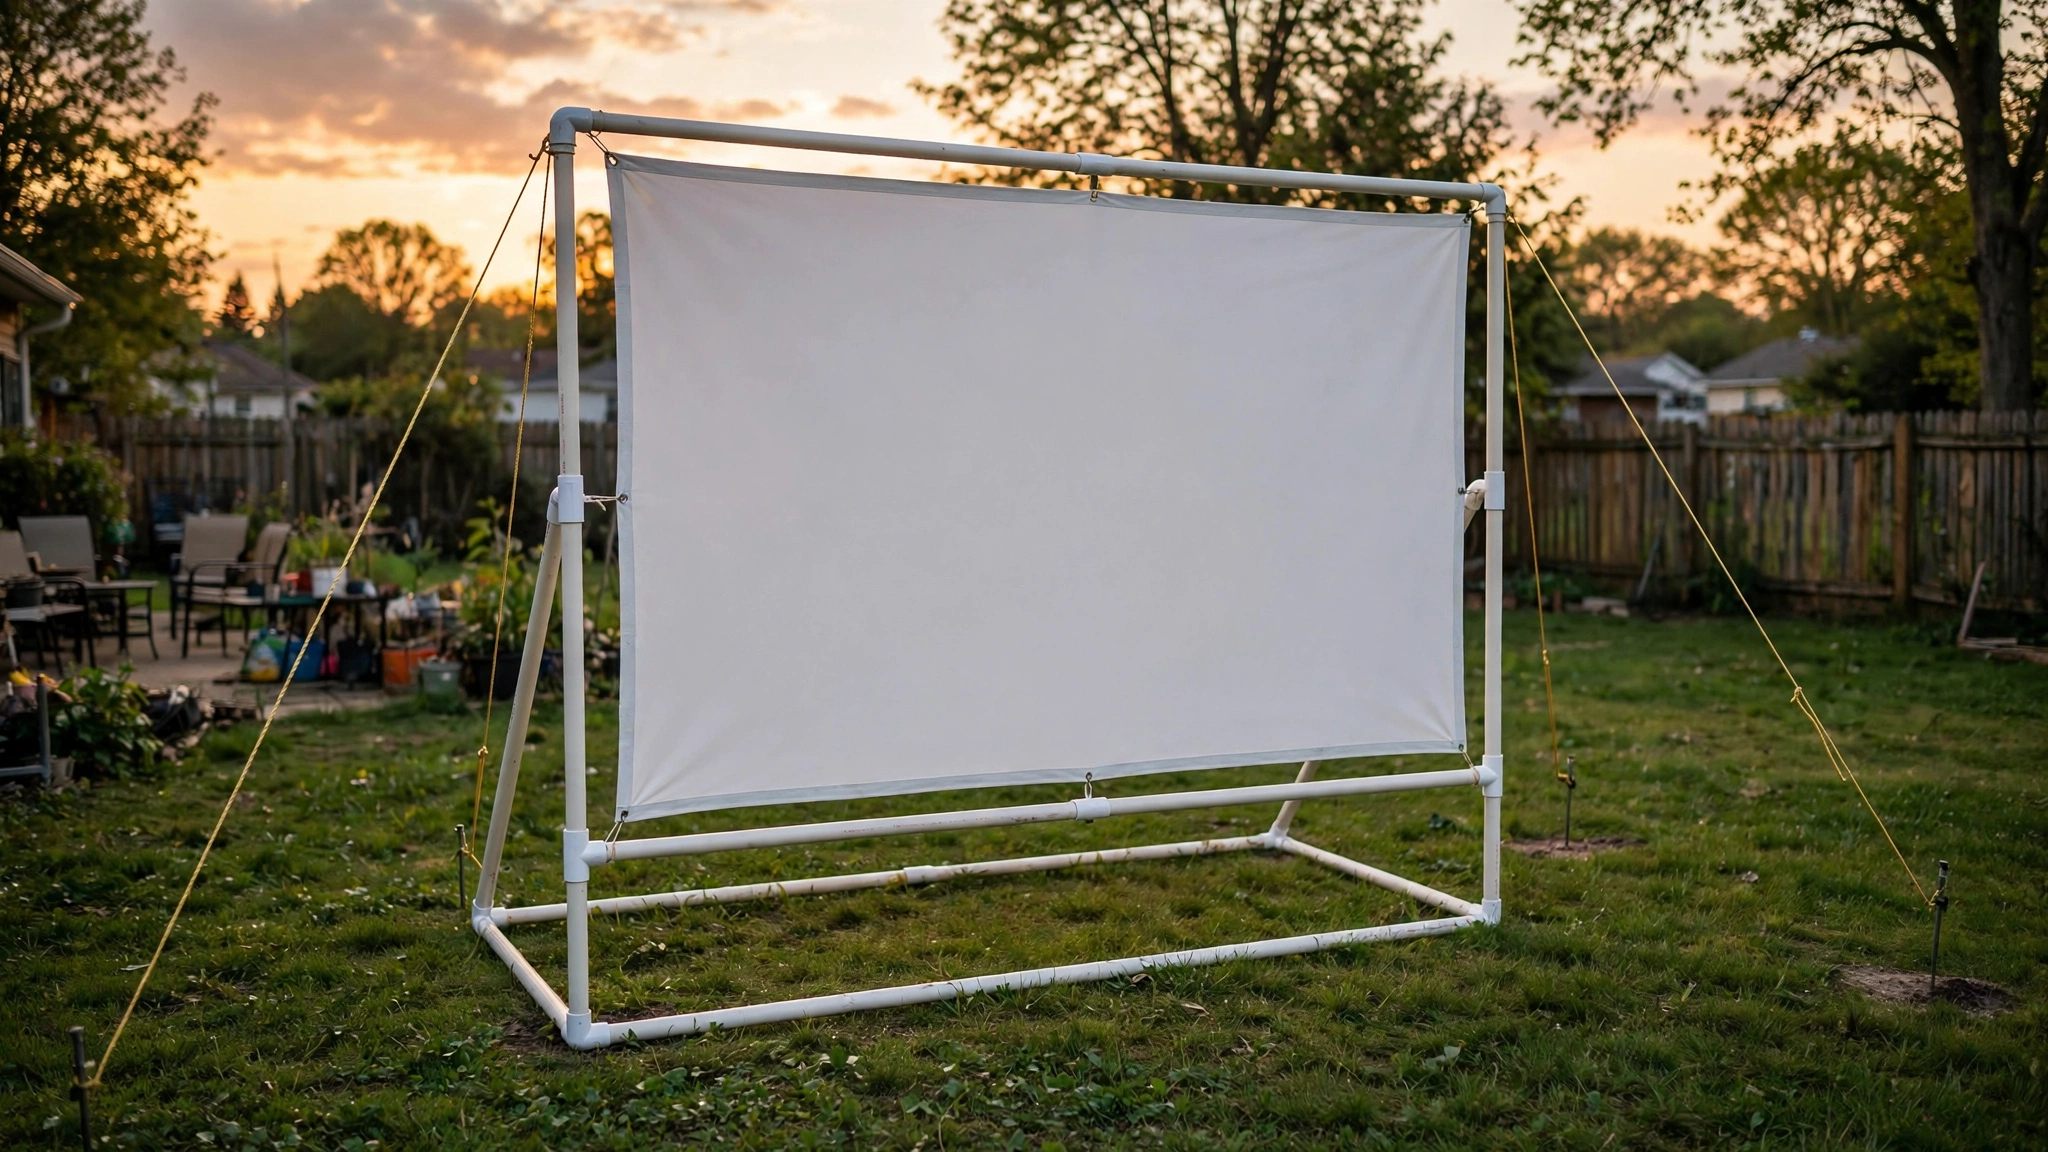
The classic backyard-cinema build: a rectangular frame from PVC pipe and elbow fittings, with white blackout cloth or budget screen fabric stretched over it and held with clamps. One afternoon, a hacksaw, and PVC cement are the whole tool list — and it costs a fraction of a manufactured screen at the same size.
Tension is everything. A loose, wrinkly surface scatters light unevenly and softens the image no matter how bright your projector is. Stretch the fabric drum-tight and clamp every few inches; bungee cords through grommets hold constant tension even as temperatures drop after sunset.
Stick with matte white — most budget fabrics sit near 1.0 screen gain, the sweet spot for backyard viewing.
Pros: cheapest path to a genuinely big screen; any size or aspect ratio you want; sturdy once staked.
Cons: takes hours to build and fine-tune; bulky to store; PVC flexes in heat and wind, so large frames need cross-bracing.
Wind tips: drive tent stakes at the base and run guy lines from the top corners out at 45 degrees, like a tent. Fill the bottom pipe with sand before capping it for low, useful weight. In real gusts, carry the light frame inside — it takes one trip.
Settle the size question before cutting pipe — our guide to what size screen works for a backyard movie night will keep you from building something your projector can’t fill.
Method 3: Rope Between Trees or Fence Posts (Free If You Have Trees)
Two sturdy trees or fence posts the right distance apart are all you need. String a taut line between them — a static rope or ratchet strap, not stretchy clothesline — then hang the screen with carabiners or zip ties through its grommets.
A white blackout curtain or dedicated outdoor screen with reinforced edges both work; the hardware matters more than the fabric.
This method’s strength is scale: trees don’t care if you want a huge image, and there’s nothing to store afterward. The enemy is sag — a rope that dips gives you a curved screen and a distorted picture. A ratchet strap or trucker’s hitch gets far tighter than a basic tie-off.
Pros: essentially free; supports very large screens; setup takes minutes once you know your trees.
Cons: you’re stuck with whatever spacing nature gave you; a truly flat surface takes fiddling; thin rope damages bark — use wide tree straps, the kind hammock campers use.
Wind tips: use short bungee cords at the attachment points as shock absorbers so gusts don’t jerk the screen against the rope. Weight the bottom edge (a sand-filled hem sleeve works) and keep it a foot off the ground, away from dew and mud splatter.
Method 4: Clamp a Screen to Your Deck Railing or Fence (Most Stable)
If your viewing spot faces a deck railing or sturdy fence, skip freestanding structures entirely. Drape a lightweight screen over the top rail and secure it with spring clamps every foot or so. For a cleaner setup, clamp a horizontal dowel across the posts and hang the screen from that.
This is the most rock-solid no-wall method because you’re borrowing strength from an actual structure. A railing doesn’t wobble, needs no guy lines, and shrugs off breezes that would topple a tripod. It’s also the tidiest visually — no legs or ropes in the scene.
Pros: extremely stable; zero footprint; fast setup once clamp points are figured out; great for small patios.
Cons: screen location and orientation are fixed; height limited by the railing usually means a smaller image; you need a railing in the right place.
Wind tips: don’t skimp on clamps — one every 12 inches along the top, plus a few on the sides for wide fabric. A weighted bottom hem stops flapping. The structure won’t move, so your only job is keeping the fabric itself from billowing.
Method 5: Inflatable Screen (Biggest Wow Factor)
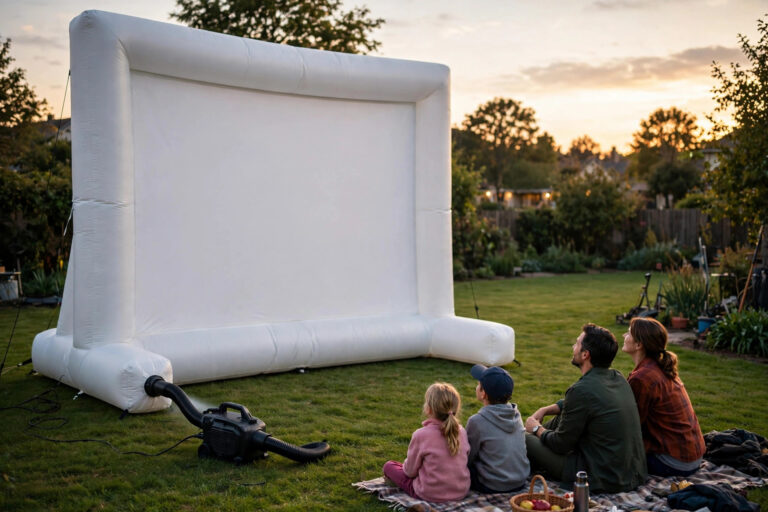
Inflatable screens look like magic at dusk: a blower inflates a giant frame in minutes, the screen tension-mounts to it, and suddenly a huge cinema glows in the backyard. Genuinely practical for big-event nights — championship games, season finales, birthdays.
The trade-offs are real. The blower runs the entire movie, adding constant hum and a power cord at the screen all night. They need every tether staked, every time, and they’re the worst of all five methods in wind — a giant inflated tube is a sail with ambition.
Pros: enormous image sizes with minimal effort; inflates in minutes; dramatic, party-worthy presence; packs into a duffel bag.
Cons: blower noise competes with quiet dialogue; needs continuous power at the screen; poor wind tolerance; bulkiest long-term cost of the five.
Wind tips: stake every tether at 45 degrees with proper tent stakes, not the flimsy pins in the box, and keep the screen’s back to the wind. If the frame leans or tethers snap taut, deflate and call it a night — no movie is worth a runaway inflatable.
Wind-Proofing: Keep Any No-Wall Screen Standing All Night
Wind kills more backyard movie nights than bugs or dim projectors — a screen is a sail, and every method above needs a wind plan:
- Check the forecast, not the sky. A calm sunset can turn breezy by 10 p.m. If sustained winds are coming, use your most stable method or postpone.
- Face the screen’s back to the wind. Wind on the back pushes the screen against its supports; wind on the front tries to rip it off — this one decision halves your problems.
- Anchor everything. Sandbags on tripod feet, stakes and guy lines on frames, every tether on inflatables — assume wind finds the weak point.
- Lower your profile. A screen hung even six inches lower catches meaningfully less wind.
- Know when to quit. If the screen sways hard or you’re spending intermission re-staking, take it down. Screens are replaceable; a snapping frame near your audience isn’t a risk worth taking.
Set up an hour before showtime. Evening breeze often drops after sunset, and you’ll know before the opening credits whether you’re in for a calm night or a fight.
Projector Placement Tips for a Wall-Free Setup
With no wall dictating layout, choose the geometry well. Start with throw distance: every projector needs a specific distance to fill a given screen size, and it varies by model.
Check your projector’s throw specs — most manufacturers, like Epson, publish throw-distance charts for their models — and measure your yard before committing to a screen size. Discovering mid-setup that your projector can’t fill the screen from the only flat spot is miserable.
Set the projector on a small stable table, centered with the screen and lens near the screen’s vertical midpoint, to minimize keystone distortion. A little digital correction is fine, but heavy correction softens the image, so align physically first.
Then beat ambient light: streetlights and porch lights wash out the picture, and no screen fixes that. Lumens help, but starting 30–45 minutes after sunset helps more and costs nothing. Face the screen away from the brightest lights and kill every light you control — “actually dark” does wonders for a budget projector.
Finally, sort power and sound early: our guide on how to power a projector outdoors without an outlet covers cords, power stations, and batteries — and don’t rely on the projector’s tiny built-in speaker, which gets lost in open air. Bring real audio to match your big screen.
Frequently Asked Questions
Can I just project onto a bedsheet instead of buying a screen?
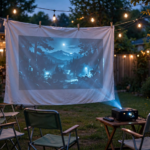
You can for a first movie night, but know the trade-offs: light bleeds through thin sheets (hang something dark behind it), wrinkles soften the image, and the texture is uneven. A white blackout curtain or budget screen fabric is a big step up for little money, and every method above works with either.
How do I keep an outdoor projector screen from blowing over?
Anchor it like a tent: sandbags on freestanding bases, stakes with 45-degree guy lines on frames, every tether staked on inflatables. Face the screen’s back into the wind and keep the bottom edge low. If gusts rock it despite all that, taking it down is the correct call, not a failure.
What size screen should I get for a backyard movie night?
For seating 10–15 feet away, a 100 to 120-inch diagonal hits the sweet spot — cinematic but fillable by a typical portable projector. Go bigger only if your projector’s throw distance and brightness support it; a dim, under-filled giant screen looks worse than a bright 100-inch one.
Can I hang a projector screen from a tree without damaging it?
Yes, if you protect the bark. Never wrap thin rope directly around a trunk — it cuts in as it moves. Use wide tree straps (sold for hammocks) to spread the load, and take everything down after movie night. A healthy mature tree handles one evening of screen-hanging fine.
Do I need a special outdoor screen, or will any white screen work?
Any matte white screen works outdoors; “outdoor” labeling mostly means weather resistance. What matters is a smooth, opaque, matte surface with even gain. For screens that come back inside afterward, a standard screen is perfectly fine.
How far should the projector sit from the screen?
It depends on your projector’s throw ratio and screen size — there’s no universal number. Decide screen size first, look up the required throw distance in your model’s specs, then confirm your yard has that much flat space between the screen spot and the projector table.
Bottom Line
How to hang a projector screen outside without a wall comes down to matching the method to your situation: a tripod screen for effortless nights, a DIY PVC frame for the biggest screen on a budget, rope between trees when nature provides, railing clamps for unbeatable deck stability, or an inflatable for maximum spectacle.
Anchor for wind, align the projector before touching keystone correction, and start after dark — and your wall-less setup will look every bit as good as a walled one.